Step-In vs. Overhead Dog Harness: How to Choose the Entry Style for a Private-Label Program
If your brief says “easy to put on,” your factory still can’t cut a single pattern. Easy for whom? Does the dog’s head go through, or its paws? Which buckles open? And how does a shopper learn all that from a pegboard in a couple of seconds? Until those questions are answered, sampling turns into rounds of revisions, and every round means another sample, another courier run, another wait.
This private label dog harness guide covers what actually changes between a step-in and an overhead harness: the pattern, the hardware, the cost, the packaging, and which one fits which sales channel. At the end is a seven-line checklist you can paste into your next brief.
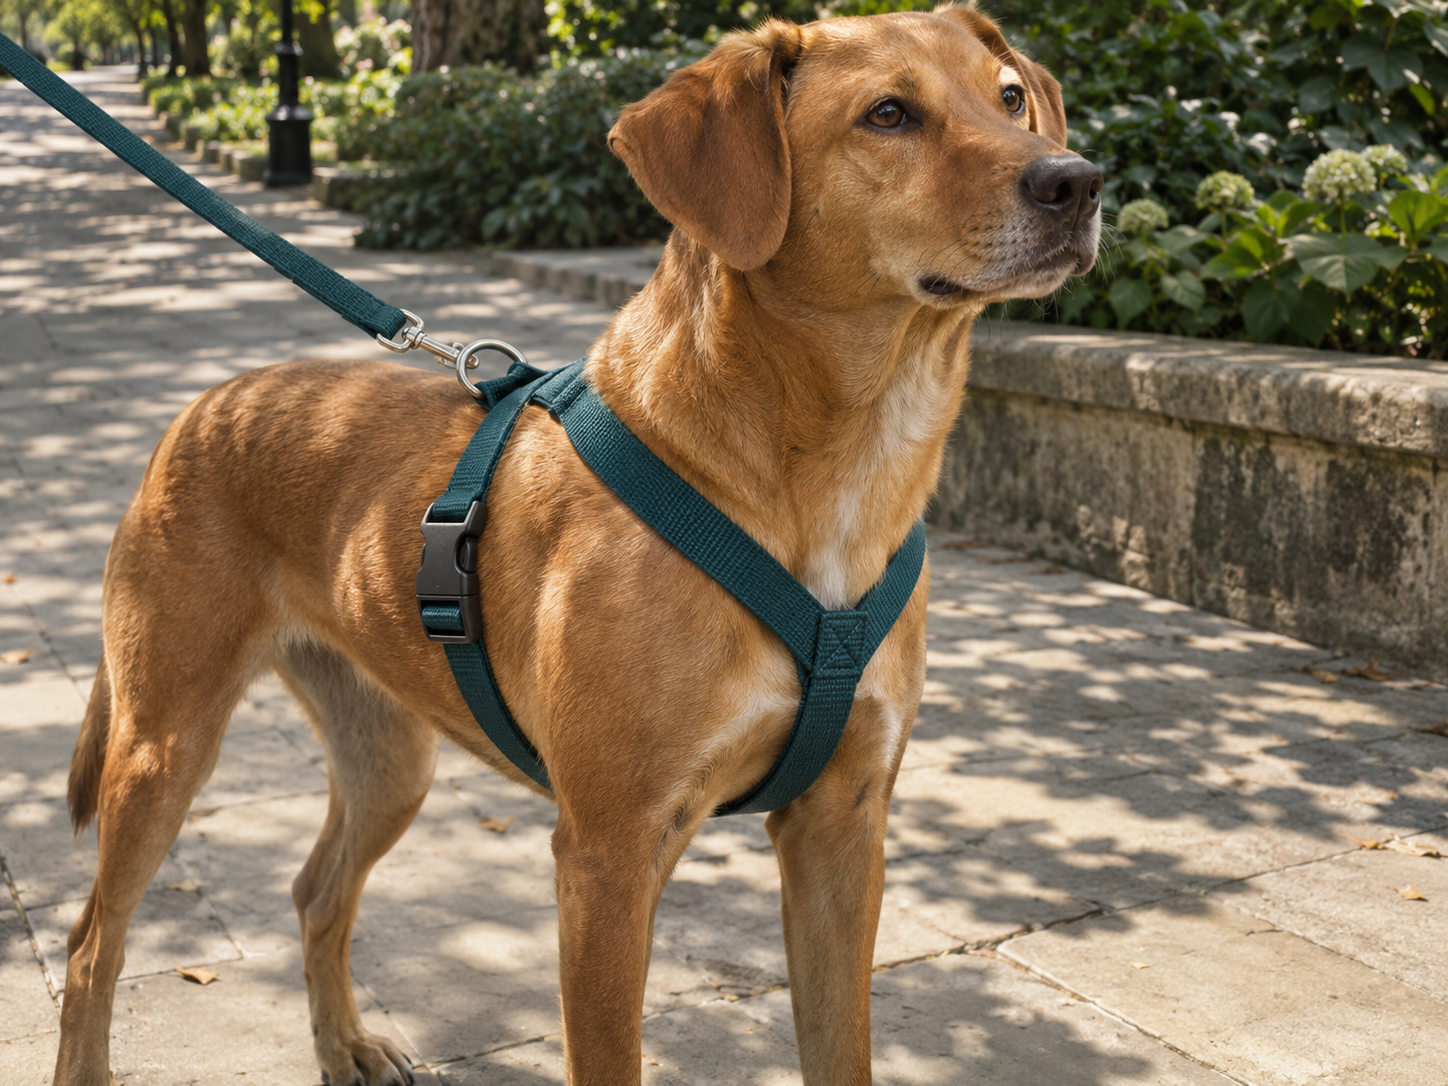
Entry style is a separate decision from chest shape and clip position
Buyers often bundle four different decisions into one word. Split them up, because the factory treats each one separately.
- Step-in doesn’t mean back-clip only. Most step-ins close with a buckle over the back, but the same pattern can carry a front sternum D-ring for no-pull training.
- Overhead doesn’t mean Y-front or two buckles. Overhead only means the first move is sliding a closed loop over the head. Some overhead designs open on one side only, so the owner still has to thread a paw through.
- Three-buckle opening-neck is its own category. A release buckle on the neck loop, plus two girth buckles, lets the harness open completely flat. Nothing goes over the head and no paw gets lifted. Calling this an “overhead” harness confuses the pattern maker and the shopper alike.
- Padding is a separate spec. A padded air-mesh vest and a plain strap harness can share the same entry, but they need different grading and edge binding.
Put each of these on its own line in the brief.
Step-in vs. dual-buckle overhead, side by side
The comparison below uses one baseline spec for both: 20 mm polyester webbing, one colorway, a dorsal leash connection, and a size Medium with a girth range of 44–60 cm. Padding, handles, and front chest rings are left out so they don’t muddy the comparison.
| Option A: Step-in | Option B: Dual-buckle overhead | |
|---|---|---|
| How it opens | Two flat leg loops on the floor; straps sweep up the sides and meet over the back | Closed, adjustable Y-front neck loop; belly strap opens at both flanks |
| Closure | One side-release buckle on the back | Two side-release buckles at the flanks |
| Hardware | 1 buckle, 2 D-rings flanking it, 3 tri-glide sliders (front left, front right, lower sternum) | 2 buckles, 1 D-ring, 4 tri-glide sliders (2 neck, 2 girth) |
| Main pattern risk | Leg-triangle size, sternum connector angle, spacing between buckle and D-rings | Fully open neck size, chest strap length, flank buckle height |
| What goes wrong at home | Unbuckled, it is a pile of loops, and nobody can tell front from back | Neck strap and belly strap get mixed up |
| What the packaging must show | Laid flat, paws in, straps up, leash clipped through both rings | Loop over the head, chest strap between the front legs, two clicks |
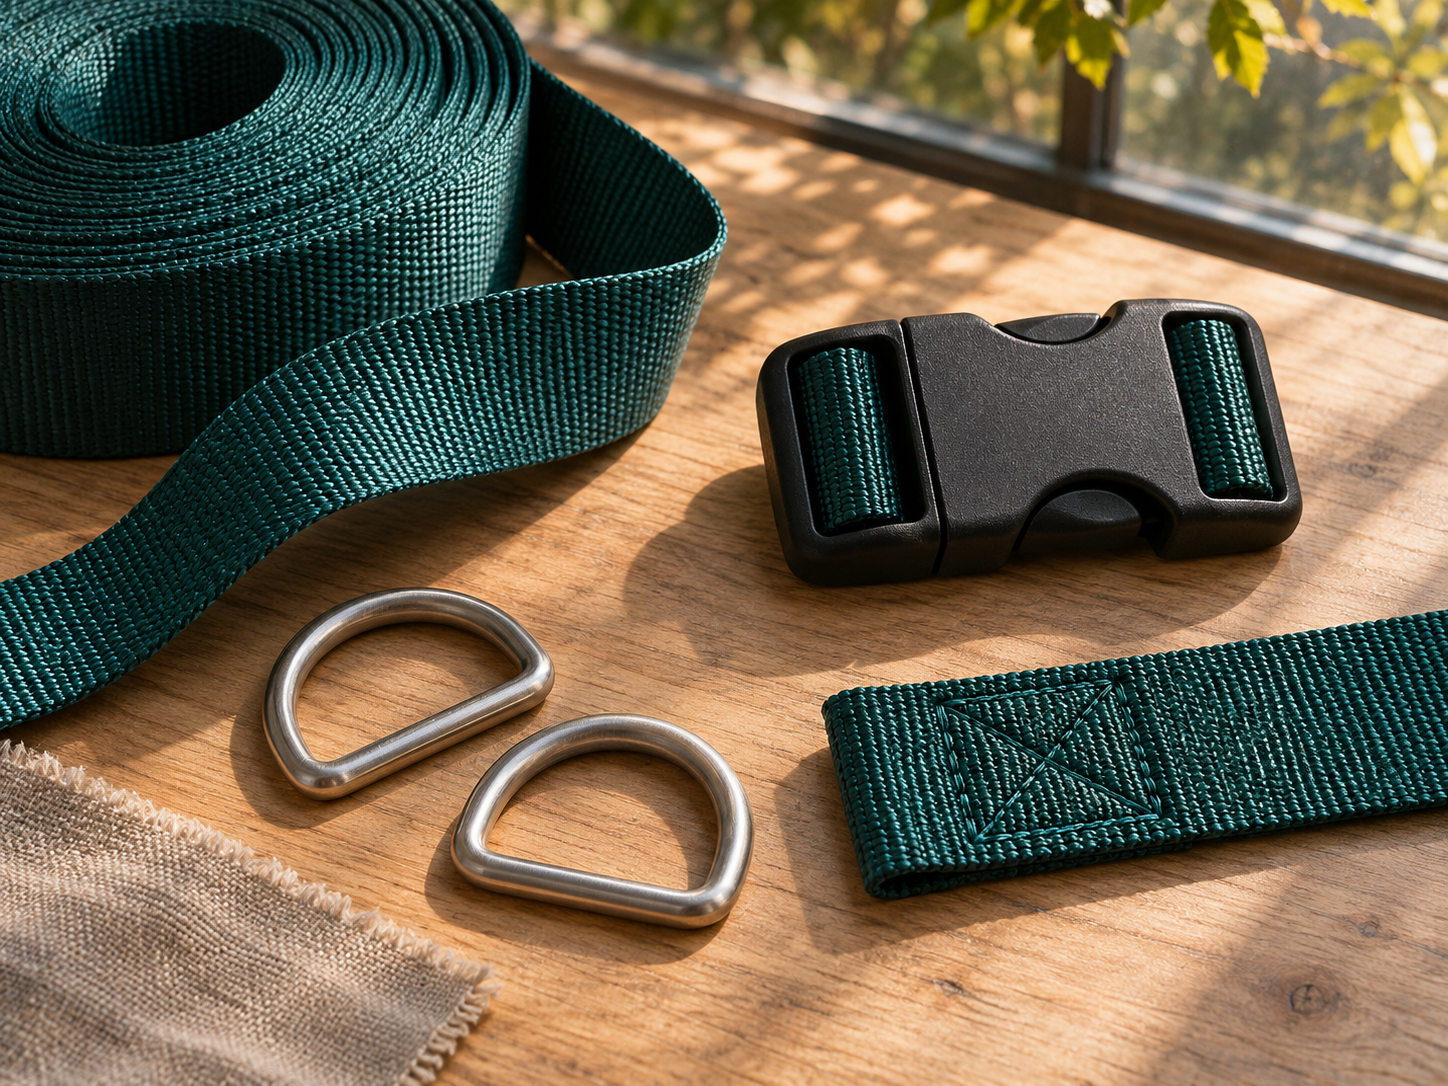
On cost: count the parts and the two builds nearly cancel out. B adds a buckle and a slider. A adds a D-ring and extra bar-tacking around the D-ring loops. In practice the gap is a few cents per unit in either direction, which is too small to decide the question. Choose on fit and channel, and ask the factory to quote both versions on the same spec sheet so the comparison stays honest. Both run on the same webbing, dye lots, and hardware finishes our factory already uses for its custom dog harness range, so colors stay consistent if the program later extends into leashes and walking gear.
What to check when sampling a step-in
The dorsal buckle sits right in the main pulling zone. Some step-in designs flank it with two D-rings, so the leash clip passes through both and bridges the buckle. Whether that really takes load off the plastic latch depends on how the D-ring loops are stitched, so ask for a pull test on the sample instead of assuming it works.
Watch the loop spacing. Cut the D-ring loops too tight and the rings fight each other, so a standard leash clip won’t go through both. Cut them too loose and the buckle drifts off the center of the spine.
Finally, give the shopper a way to orient it. A contrasting interior stitch line or a woven “FRONT” badge at the center chest junction is enough.
What to check when sampling an overhead build
Specify two neck measurements, not one: the snug size as worn, and the maximum opening with the sliders fully extended. A neck loop that sits nicely on a French Bulldog’s shoulders is useless if it can’t open wide enough to clear a blocky skull without catching the ears.
The other two checks are chest strap length and flank buckle height. Keep the buckles on the side of the ribcage, clear of the chest trim, where the owner can see them and click them shut.
Making the entry motion obvious on the peg
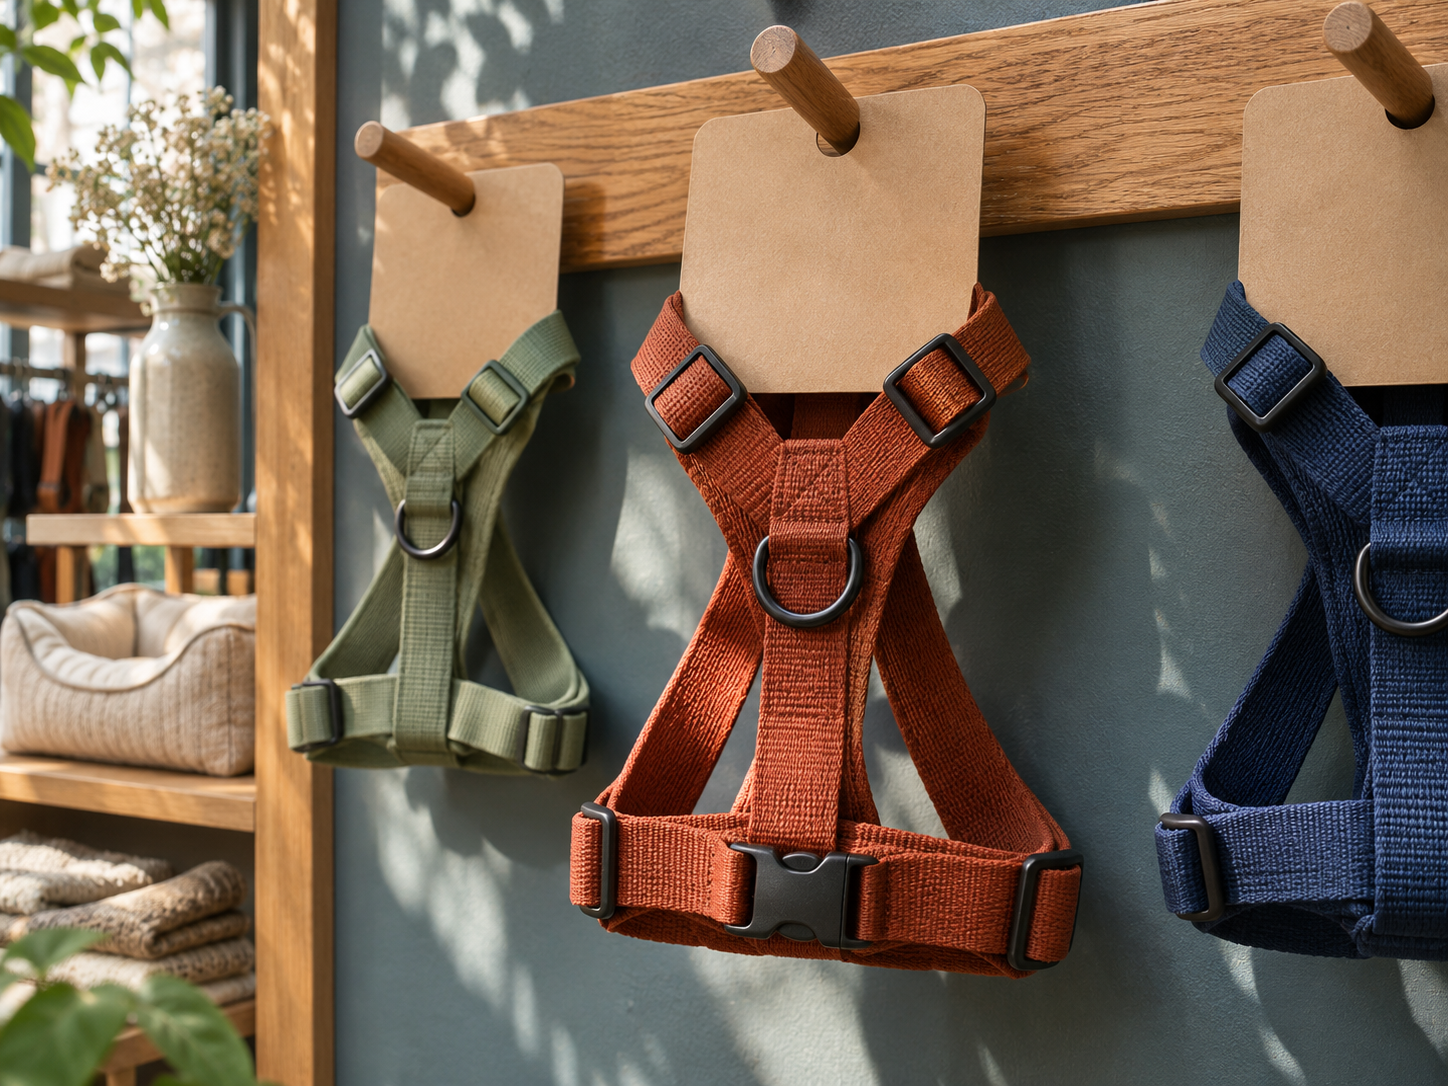
A harness that shoppers can’t decode on the shelf tends to cost you twice: first in lost sales, then in returns. On a self-service pegboard, the hanging card has to explain the motion in a couple of seconds.
On a standard 100 × 160 mm hanging card, put a bold orientation line at the top and a three-frame graphic below it. Shoot or draw the frames from the approved pre-production sample, not from a render.
- Step-in card: (1) harness laid flat with the left and right paw openings marked; (2) dog stepping in, straps sweeping up the flanks; (3) buckled back, with a close-up of the leash clip through both D-rings.
- Overhead card: (1) closed neck loop sliding over the head; (2) loose chest strap coming up between the front legs; (3) both flank buckles clicking shut.
When you review pre-production packaging, always judge the printed card with the real harness mounted on it:
- Swift-tacks and zip-ties must not pin down or hide the main release buckle shown in the diagram.
- Buckle prongs should be easy to pinch, and the straps should hang untwisted.
- Care labels and brand tags should be stitched far enough back that they can’t jam inside the female buckle housing.
Then hand the packaged sample to someone who has never seen it. If they can’t tell front from back right away, fix the card mounting before you approve mass production.
When a third buckle is worth paying for
Some programs target head-shy dogs, senior dogs with stiff joints, or owners who dread wrestling paws into floor loops. For those, you can add a third side-release buckle on one shoulder strap of the overhead build. The harness then opens flat, with no head-through and no paw-lifting.
Treat it as a pattern change, not a trim swap. The shoulder buckle adds bulk near the throat, needs an extra webbing fold-over and a box-X bar-tack, shortens the slide-adjustment track on that side of the neck, and means redoing the packaging art. Fit-test the prototype on live dogs to confirm the buckle lies flat against the coat and doesn’t rub.
Here is a worked example for a 3,000-unit private label dog harness run. The figures are illustrative, and your quote will depend on buckle spec and volume:
- One POM buckle, an extra webbing fold, and a box-X bar-tack: about +$0.18 per unit
- Updated packaging artwork and setup: about $120 one-time, which is $0.04 per unit over the first run
- Total factory-side (FOB) increase: about $0.22 per unit, or roughly $660 across the run
Whether that is worth it depends on what you compare it to. On a base harness quoted at $2.50 FOB, $0.22 is about 9%. At $4.00, it is about 5.5%. If an avoidable return costs you $8 in refund, freight, and handling, the upgrade breaks even once it prevents about one return in every 36 units sold. It also pays off if a clear “No Over-the-Head / No Paw-Lifting” callout lets you move up a shelf-price tier. If you can’t point to one of those two outcomes, stay with the two-buckle build.
Which build fits which channel
There is no single winner, so match the build to your price tier, your dog profile, and your shelf.
- Step-in dog harness: best for opening-price-point programs, impulse pegs in supermarkets, and small-to-medium companion dogs. Small dogs are easy to handle, a single buckle keeps the design simple, and the flat layout hangs neatly on narrow pegs. The cost advantage over overhead is small, so the case rests on simplicity. Always add the interior “FRONT” marker.
- Dual-buckle overhead dog harness: best for core everyday walking lines and medium-to-large active dogs. The Y-front keeps the chest piece centered, and two flank buckles mean no one has to lift a heavy paw. Grade the neck so bulky heads have plenty of clearance when the sliders are fully open.
- Three-buckle opening-neck: best for specialty pet retail, senior-dog and fear-free positioning, and mid-to-premium price tiers. Your sales team can open the harness flat in the customer’s hands, which is a far better pitch than a spec line.
Seven lines for your next harness brief
- Entry style: step-in, overhead, or opening-neck. Name one.
- Closure: number and position of buckles, and buckle type.
- Leash attachment: dorsal, front sternum, or both, and the number of D-rings.
- Sizes: girth and neck range for every size, plus the fully open neck size for overhead builds.
- Materials and hardware: webbing width and material, hardware finish, padded or unpadded.
- Packaging: hang card size, three-frame artwork taken from the approved sample, and the orientation marker.
- Channel, target retail price tier, and estimated volume.
Whatever construction you choose, ask the factory for pull-test records on the webbing, buckle, and D-ring, not just a claim that they pass.
Start your harness development brief
For your private label dog harness brief, send us the seven items above, even in rough form, plus a reference sketch if you have one. Our engineering team will come back with sampling and costing for the entry styles you want to compare, quoted side by side on one spec sheet. Reach us through the YuanFei Pet contact page or call +86 180 1922 8135.